NameRover scaffolding
— NameRover, AppRush — 2 min read
Every beginning is hard, but it's also the most exciting part of a project.
The first steps are to set up the project structure, import the necessary libraries, create the dependency injections, and write the initial tests. Luckily, I created a Flutter project kickstarter template that I can reuse for NameRover. There is also a command-line program that can set this up for me. This kit is still in active development but always comes in handy when I start a new project.
AppRush
AppRush is a Flutter bootstrap kit that provides starter code, plugins, and integrations for standard mobile app features.
It aims to help kickstart new apps quickly by handling the boilerplate code for things like authentication, databases, analytics, in-app purchases, flavor creation, etc.
The kit contains reusable packages, example apps, and documentation to help you get up and running faster.
Everything is easily maintained through melos as a package manager.
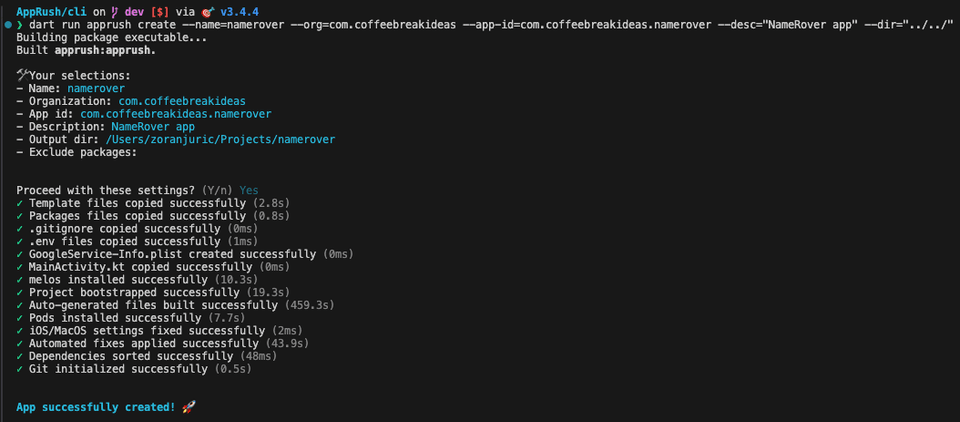
Creating a new project with AppRush is as simple as running the following command:
apprush create <project-name>After a couple of minutes, everything is ready to go, and I can start working on the actual features of NameRover:
App Icons
Next, I applied app icons for Android, iOS, and MacOS. This was straightforward since I had previously designed the logo and prepared a 1024x1024px PNG file.
For Android, I used Android Studio and its New > Image Asset feature to generate the icons automatically for all densities.
For iOS, I used the Xcode and its Assets.xcassets with a single-icon (1024pt) slot. Xcode automatically generated the other sizes.
To create the splash screen flutter_native_splash package was the easiest way to go. I ran the following commands to generate the splash screens for all three flavors:
dart run flutter_native_splash:create --flavor productiondart run flutter_native_splash:create --flavor stagingdart run flutter_native_splash:create --flavor developmentTo run the project, I needed to connect the app to Firebase and download the necessary files for each flavor and platform: GoogleService-Info.plist, google-services.json, and firebase_app_id_file.json files.
After the flutterfire client downloaded the necessary files and created the firebase_options_<flavor>.dart files, I was able to run the app on all platforms.
Themes
The UI theme is supported via the FlexColorScheme package. I can easily create light and dark themes and customize each UI element. The generated code is then imported into the NameRover's UI package and ready to be used. AppRush provides UI responsiveness for all platforms, automatically applying themes based on the device's system settings.
Wrap Up
The project setup took me a few of hours, but it was worth it. And it is always easy when you have the right tools in your hands 😜 I'm now ready to start working on the actual features of NameRover. 🚀